Why Do Cracks Appear in Wood?
Wood is a natural material that reacts to changes in its surroundings. When the humidity and temperature change, wood can expand and contract. This movement can cause cracks over time.
Other things like age, dryness, and physical damage can also lead to cracks. Understanding why cracks happen can help you choose the best way to fix them.
Different Types of Cracks in Wood
Before fixing cracks, it’s important to understand the different types of cracks that can appear in wood. The method for repairing them will depend on how big and serious the crack is.
Hairline Cracks
Hairline cracks are very small and usually appear on the surface. They are often caused by minor drying or changes in the seasons. These cracks don’t usually affect the wood’s strength, but they can make the wood look less attractive. Thankfully, hairline cracks are easy to fix.
Wide Cracks
Wide cracks are larger and easier to notice. They often happen because of serious drying or when furniture is exposed to too much heat or humidity. These cracks are harder to fix, but with the right tools and techniques, you can restore the wood’s appearance.
Deep Cracks
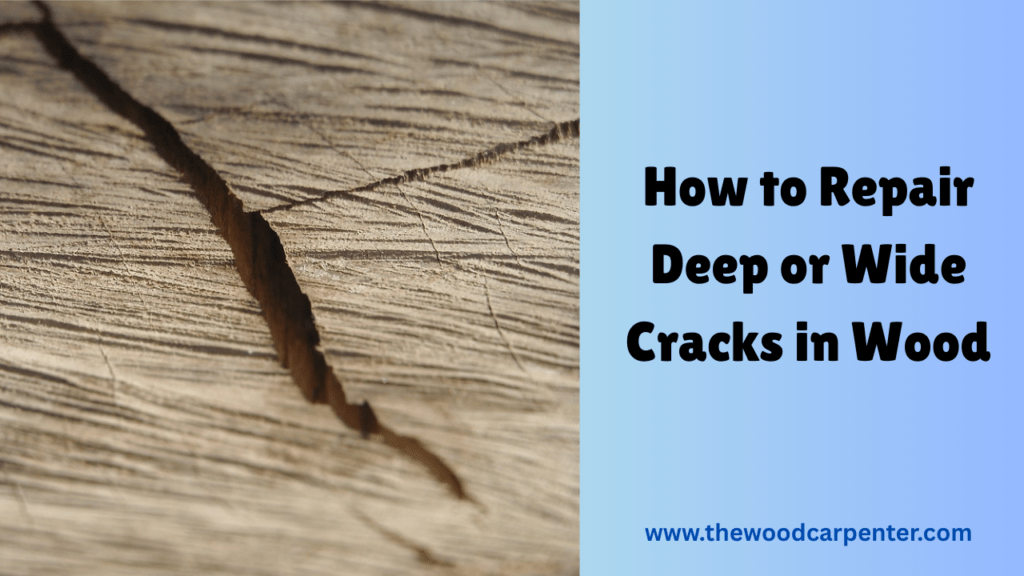
Deep cracks go all the way through the wood. These cracks can weaken the wood, and if not fixed, they could cause more damage. Fixing deep cracks requires more careful work and may need extra support, especially in furniture.
Why Wood Cracks Over Time
Several factors contribute to wood cracking:
- Humidity and moisture changes cause expansion and contraction.
- Aging and drying of natural wood.
- Improper storage or seasoning of timber.
- Physical stress or impact.
Best Time to Repair Wood Cracks
Seasonal Changes and Humidity Effects
Wood moves with humidity. The best time to repair is when humidity levels are stable—typically spring or fall—so the crack won’t expand or contract significantly after repair.
When to Delay or Proceed
- Avoid repairing during high moisture seasons or directly after rainfall.
- Ensure wood is dry to the core before applying filler or epoxy.
Materials and Tools You’ll Need
Essential Repair Supplies
- Wood filler or epoxy resin
- Wood glue
- Sawdust (matching species)
- Sandpaper (80 to 220 grit)
- Putty knife
Optional Tools for Professional Finish
- Clamps for structural gaps
- Orbital sander for large areas
- Stain or paint to match wood tone
- Vacuum or tack cloth
How to Fill Small Surface Cracks in Wood
Using Wood Filler
- Clean the crack with a vacuum or brush.
- Apply wood filler with a putty knife.
- Let it dry per instructions.
- Sand flush with the surface.
- Stain or paint to match the surrounding area.
Applying Wood Putty
- Best for finished surfaces (after staining/painting).
- Remains slightly flexible and is ideal for furniture.
- Choose a color-matched version.
Also read:
Wood stain: How long does it take to dry?
Beeswax Wood Finish: The Secret to Stunning Wood
How to Repair Deep or Wide Cracks in Wood

Epoxy Filler for Structural Gaps
Epoxy is excellent for wide or deep cracks:
- Mix two-part epoxy thoroughly.
- Pour into the crack or apply with a spatula.
- Shape slightly above the surface.
- Sand and refinish once cured.
Using Wood Glue and Sawdust Method
For small but deep cracks:
- Mix fine sawdust with wood glue until paste-like.
- Fill the crack and smooth it out.
- Let it dry and sand smooth.
How to Fix Cracks in Finished Wood
Repairing cracks in already-finished wood, like furniture or floors, requires extra care to maintain the original appearance.
Matching Stains and Finishes
- Use a stainable wood filler if you plan to re-stain the piece.
- For painted finishes, color-matched wood putty works well.
- Test the stain or paint on a hidden area first to ensure consistency.
Buffing and Refinishing Tips
- Sand gently around the repaired crack with 220-grit sandpaper.
- Apply a matching finish (lacquer, shellac, polyurethane) in thin coats.
- Buff the area lightly with fine steel wool between coats for a smooth blend.
Creative Ways to Fill Cracks for Decorative Use
Sometimes, cracks can become a design feature rather than a flaw. Here’s how to get creative:
Using Colored Resin or Epoxy
- Add metallic pigments, glow-in-the-dark powder, or dyes to epoxy.
- Use masking tape to frame the crack and prevent spillage.
- After curing, sand flush and polish for a high-end look.
Inlays with Metal, Stone, or Contrast Wood
- Fill wide cracks with brass strips, turquoise chips, or dark walnut inlays.
- Secure with epoxy and sand down to a smooth finish.
These decorative techniques are especially popular in live-edge furniture and artisanal wood projects.
Step-by-Step Guide: Filling Wood Cracks Like a Pro
Here’s your full DIY roadmap:
- Clean the Crack – Remove dust, debris, and loose fibers.
- Choose the Right Filler – Epoxy for deep cracks, wood filler or glue- sawdust for small ones.
- Apply the Filler – Press it into the crack, slightly overfilling the surface.
- Let It Dry – Follow product instructions (some need 24+ hours).
- Sand the Surface – Start with medium-grit, finish with fine-grit paper.
- Refinish as Needed – Match the surrounding stain or paint.
- Seal the Area – Apply a protective finish if the surface is exposed to wear.
Mistakes to Avoid When Filling Wood Cracks
Overfilling and Under-Prepping
- Avoid excessive filler that leads to lumps or uneven sanding.
- Always prep the crack by cleaning and drying thoroughly.
Ignoring Moisture Content
- Filling damp wood leads to shrinking and cracking later.
- Use a moisture meter if you’re unsure.
Which Filler Should You Choose ?
| Type | Best For | Durability | Appearance |
| Wood Filler | Small cracks | Medium | Paintable |
| Epoxy | Deep cracks | Very High | Glossy or tintable |
| Sawdust + Glue | Natural look | Medium | Blends well |
| Wood Putty | Fast repairs | Low | Paintable |
| Beeswax | Quick fixes | Temporary | Blends lightly |
| Bowtie Inlay | Large splits | Very High | Decorative |
How Long Does Wood Filler Take to Dry?
Drying Times for Different Products
| Product Type | Dry Time (Approx.) |
| Water-based filler | 15-30 minutes |
| Solvent-based filler | 30-60 minutes |
| Epoxy resin | 12-24 hours |
Frequently Asked Questions (FAQs)
1. Can I use caulk to fill wood cracks?
No, caulk isn’t durable enough for wood—it may crack or shrink. Use proper wood filler or epoxy.
2. What’s the difference between wood putty and wood filler?
Wood filler is sandable and best for raw wood; wood putty stays soft and is better for finished surfaces.
3. How do I fill cracks in outdoor wood?
Use exterior-grade epoxy or filler that resists moisture and UV exposure.
4. Should I stain before or after filling cracks?
If using a stainable filler, stain after filling. For wood putty, stain before and match the putty color.
5. What if the filler shrinks after drying?
Apply a second layer and sand flush once fully dried.
6. Can I paint over wood filler?
Yes, most wood fillers can be primed and painted over easily.
Learning how-to-fill-cracks-in-wood empowers you to restore, preserve, and even enhance your wooden furniture, floors, or art pieces. Whether you choose a subtle fix or a bold decorative resin, proper technique ensures your repairs will stand the test of time. So gather your tools, pick the right method, and bring your wood back to life—crack-free and beautiful!

